Downloading Objects as JSON files in Angular
In our Angular applications , we often create rich data objects that give us insight into how our application is behaving. Whether we’re creating complex state management objects , error logs or diagnostics ,what if you wanted to export this data for further analysis or for users to download?
In this blog post, we’ll explore how to download a session storage object as a JSON file in an Angular application. This feature can be particularly useful when you want to provide users with the ability to backup or export their session-related data.
Prerequisites
Before we dive into the implementation, make sure you have the following prerequisites:
- Basic knowledge of Angular and TypeScript.
- An Angular project set up and ready to work with.
Implementation Steps
We’ll break down the implementation into the following steps:
- Retrieve session storage data: Fetch the data from session storage that you want to export as a JSON file.
- Convert to JSON: Convert the retrieved data to a JSON string.
- Create a download function : Implement a function to trigger the download
- Trigger the download: Create a button in the user interface that, when clicked, triggers the download of the JSON file.
Let’s get started!
Retrieve Session Storage Data
In previous blogs I’ve outlined how to create a generic session storage service as well as how to use that service to store ,process and view network logs.
Angular HTTP Interceptors: creating a custom http diagnostics report
Using the project I created there as a base , I can download the network logs I created from session storage as a JSON file and be able to use the insights and diagnostics I created to make meaningful decisions regarding how to optimise the network requests my application is making.
Note: For the rest of the blog I will be referencing code that can be found in this repo , so if you want to see the full implementation please clone and follow along
GitHub – Yashlin-Naidoo/BaseUi.Angular at feature/downloadStorage
In that project , in the SessionStorageService , I created a method for retrieving and processing the network information I had stored in the browser session storage.
retrieveRequestObjectFromStorage() {
    const resData = this.getItem(RESPONSE_ARRAY_KEY)
    const reqData: RequestArray[] = this.getItem(REQUEST_ARRAY_KEY)
    const requestData = this.reduceAndCountRequests(reqData)
    const responseData = this.reduceAndCountRequests(resData)
    return { requestData, responseData }
  }
So my first portion is done , I can now go to the app.component.ts of that angular app and I will see that I have already written code to extract that data , store it in variables and display it on the page
const sessionObject = this.sessionStorageService.retrieveRequestObjectFromStorage();
this.requestArray = sessionObject.requestData
this.responseArray = sessionObject.responseData
Convert to JSON
Now that I have the data , I need to convert it to a JSON blob , this will allow me to download it from the Application to my device as a JSON file
convertToJsonFile(){
    const sessionObject = this.sessionStorageService.retrieveRequestObjectFromStorage();
    const jsonString = JSON.stringify(sessionObject);
    const blob = new Blob([jsonString], { type: 'application/json' });
    return blob;
   }
Lets break down this code
- Convert to JSON String:
const jsonString = JSON.stringify(sessionObject);After retrieving the data, it is converted to a JSON-formatted string usingJSON.stringify(). This step serializes the JavaScript object (sessionObject) into a string that represents the same data in JSON format. - Create a Blob:
const blob = new Blob([jsonString], { type: 'application/json' });This line creates a Blob object from the JSON string. A Blob is a binary large object that can store data of various types, in this case, JSON data. The second argument to theBlobconstructor specifies the MIME type of the data. Here, it’s set to'application/json', indicating that the data is in JSON format. This helps browsers understand how to handle the Blob.
Create a download function
convertToJsonFile(){
    const sessionObject = this.sessionStorageService.retrieveRequestObjectFromStorage();
    const jsonString = JSON.stringify(sessionObject);
    const blob = new Blob([jsonString], { type: 'application/json' });
    return blob;
   }

   downloadRequestObject(){
    const blob = this.convertToJsonFile();
    const url = window.URL.createObjectURL(blob);
    const a = document.createElement('a');
    a.href = url;
    a.download = 'network_calls.json';
    a.click();
    window.URL.revokeObjectURL(url);
  }
- Create Blob: This function starts by calling the
convertToJsonFile()function to obtain the JSON data as a Blob. TheconvertToJsonFile()function returns the Blob containing the JSON data. - Create a URL:
window.URL.createObjectURL(blob)generates a URL that represents the Blob data. This URL is stored in theurlvariable. - Create an Anchor Element: An
<a>element is created usingdocument.createElement('a'). This element will act as the download link for the JSON file. - Set Anchor Element Properties: Several properties of the
<a>element are configured:href: Thehrefattribute is set to the generated URL (url) from the Blob, effectively linking the anchor to the Blob data.download: Thedownloadattribute is set to ‘network_calls.json’, specifying the default file name when the user initiates the download.
- Trigger Click: The
<a>element is programmatically clicked using thea.click()method. This simulates a user clicking the link, which prompts the browser to download the JSON file. - Revoke URL: After the download is initiated,
window.URL.revokeObjectURL(url)is called to release the resources associated with the generated URL, ensuring efficient memory usage.
In summary, the convertToJsonFile() function prepares the data as a Blob, and the downloadRequestObject() function creates a download link, triggers the download, and cleans up the generated URL.
Trigger the download
The simplest step , lets add a button to our html to trigger the download function we have just created
<!-- app.component.html -->
<button type="button" (click)="downloadRequestObject()">Download Network Data</button>

Clicking on the download button will trigger the download
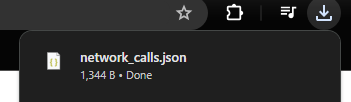
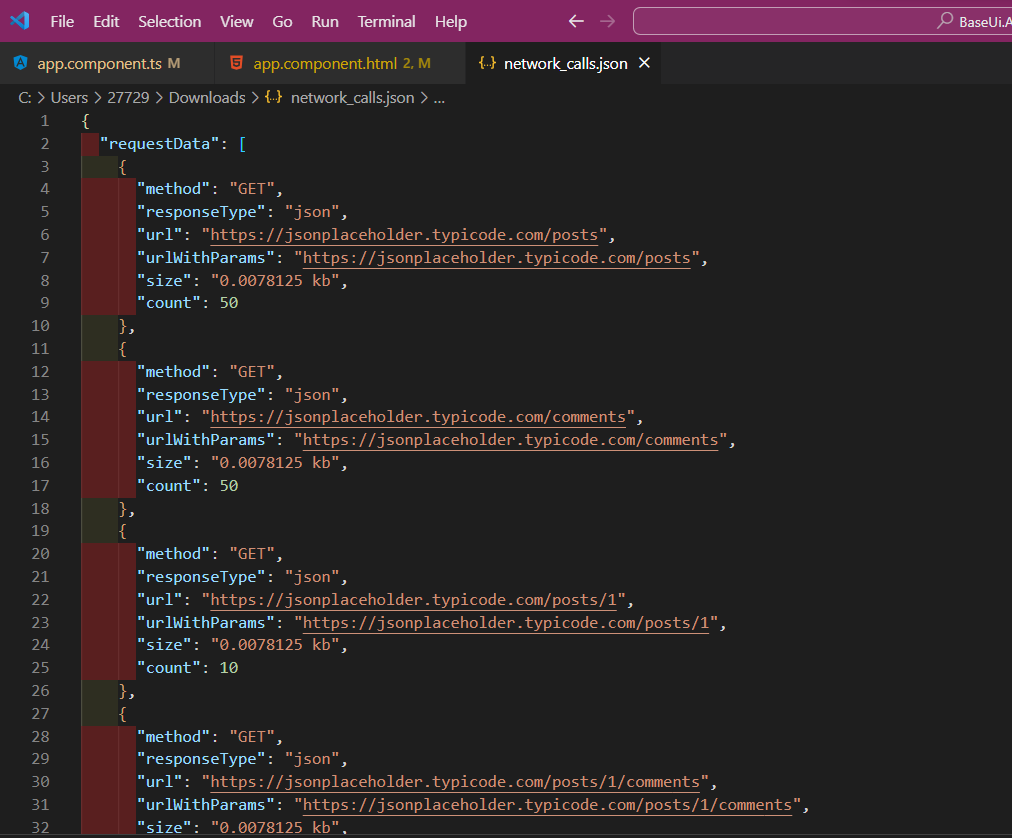
And then we can view our JSON file with all our nicely processed network data
Conclusion
This functionality allows users and developers to export and analyze data from your Angular application conveniently. It’s a valuable feature when dealing with diagnostic data, error logs, or any other data that users or developers may want to review or share.
Reminder: If you want to see this code in action , you can clone and run the repo here
https://github.com/Yashlin-Naidoo/BaseUi.Angular/tree/feature/downloadStorage

WRITTEN BY
Yashlin Naidoo