Getting Started with OpenAI Assistants on the OpenAI Platform
AI assistants are a game-changer when it comes to automating tasks and streamlining workflows. They help reduce the time spent on repetitive activities by handling things like gathering data, updating information, and responding to customer inquiries. AI assistants are also highly effective at analyzing large volumes of data to identify trends, offer insights, and even predict future outcomes. By letting these assistants manage the routine tasks, you free up time to focus on what truly matters.
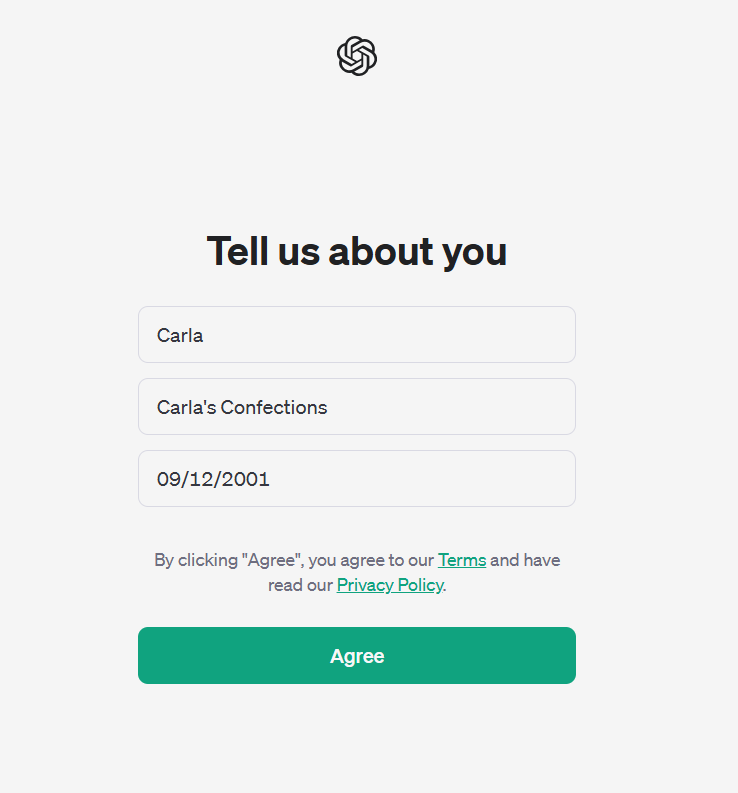
For instance, if you run a bakery and want to create an assistant to answer customer questions, your first step is to visit the OpenAI platform at platform.openai.com. Once there, log in or sign up. Afterward, a menu will prompt you to provide your name, organization name (which is optional), and your birthday to get started.
Next, you’ll be directed to the Dashboard section of the OpenAI platform.
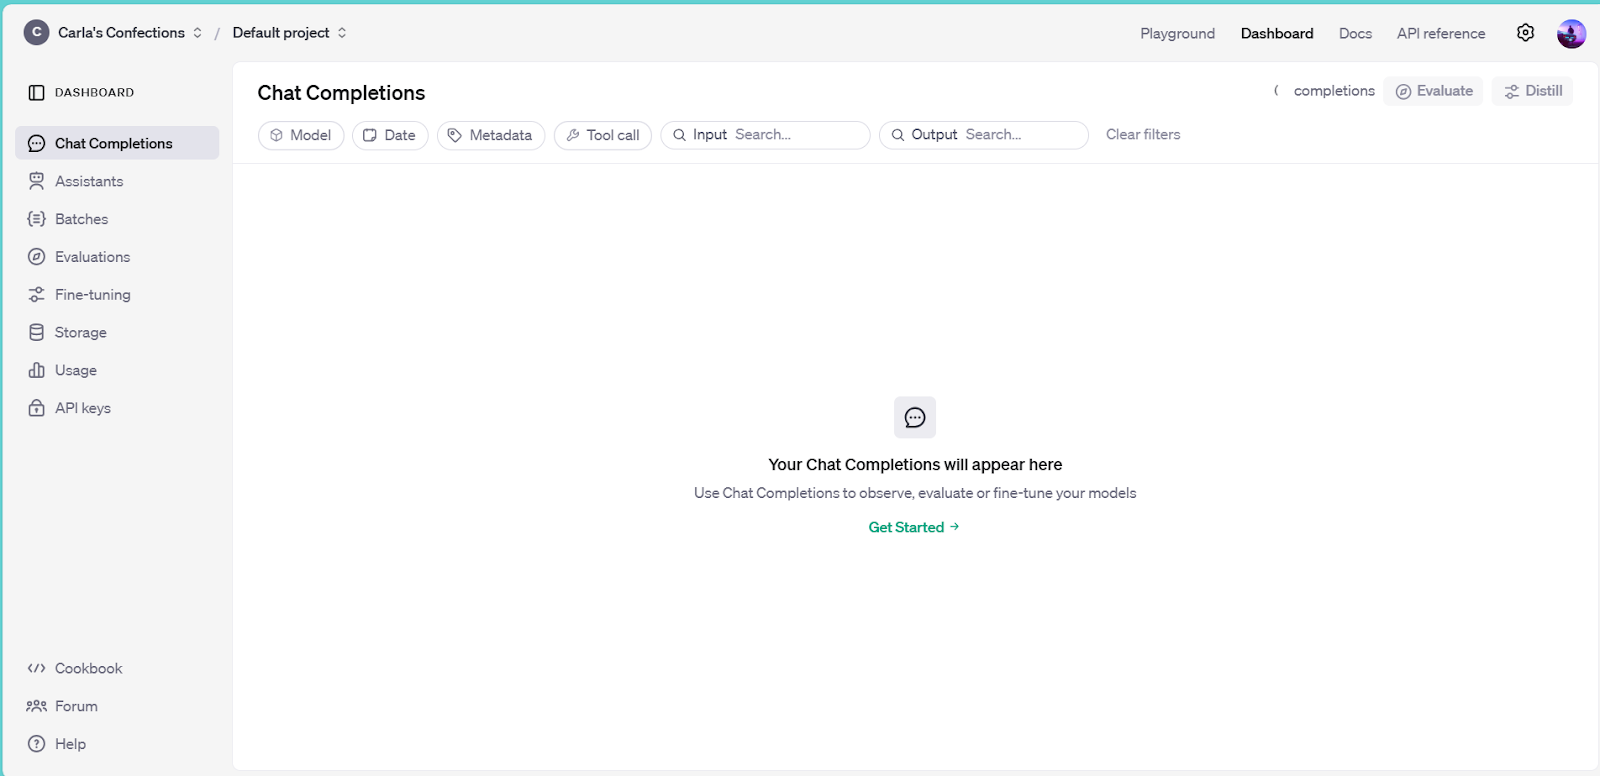
The OpenAI platform consists of four main sections: Playground, Dashboard, Docs, and API Reference.
The Playground allows you to test and interact with your assistant directly. Here, you can input queries and see responses without needing to write code or use tools like Postman. It also provides a space where you can modify your assistant’s behavior, upload files for the assistant to reference, and experiment with different configurations. This makes the Playground an excellent tool for quick testing and refining your assistant’s functionality.
The Dashboard is where you can create, edit, and manage your assistant. In this section, you can also upload files to provide context or reference material for the assistant to use in generating responses. It’s the main control center for your assistant, allowing you to tweak settings, update files, and monitor performance.
Docs is a comprehensive resource that provides detailed information on how to use the OpenAI platform, from getting started to advanced techniques. The documentation includes step-by-step guides, API usage examples, and best practices to help you make the most of the platform’s capabilities.
The API Reference section offers technical details about the available APIs, including endpoint descriptions, parameter options, and response formats. This section is essential for software developers who want to integrate OpenAI’s capabilities into their own applications and workflows.
It’s important to note that you need to add at least $6 to your account to use your assistant and receive responses from it.
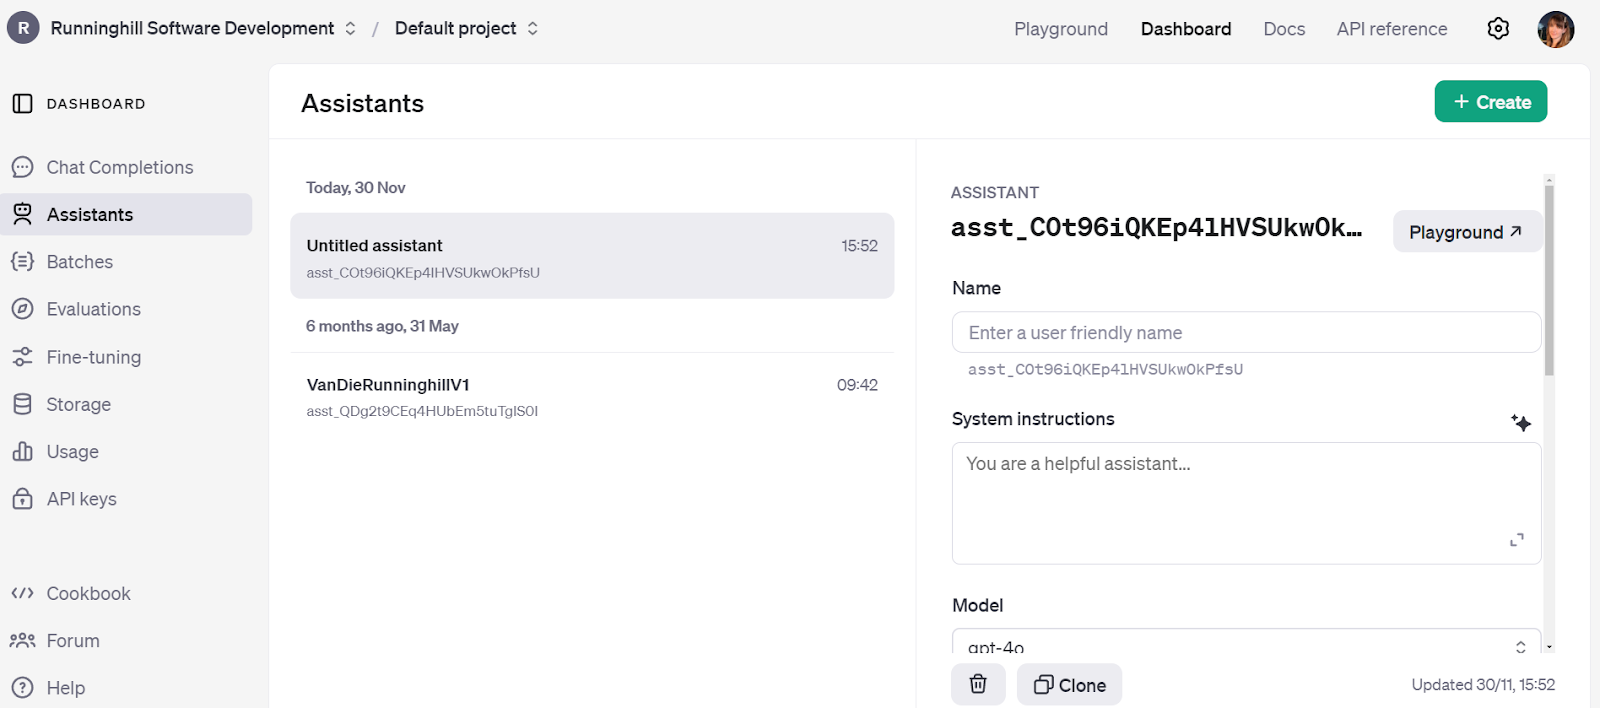
To create your assistant, navigate to the “Assistant” section in the Dashboard tab and click the “Create” button in the upper-right corner. From there, you can start customizing your assistant, and you should see it with default settings.
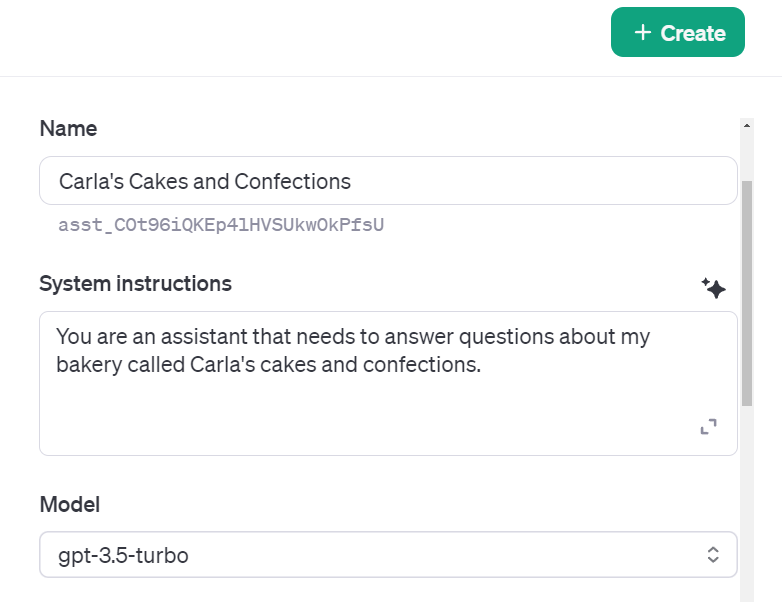
Next, you’ll need to provide your assistant with a user-friendly name and system instructions. For this example, I’m creating an assistant to help answer customer queries for a hypothetical bakery business called Carla’s Cakes and Confections.
You may also want to consider changing the model based on your needs:
GPT-4: Ideal for detailed, high-stakes conversations that require nuanced understanding or reasoning, such as technical explanations or strategic analysis.
GPT-4 Turbo: Best for fast, high-quality responses in real-time interactions where cost is secondary but still a consideration.
GPT-4 Mini: Suitable for moderately demanding tasks where cost-efficiency and speed are prioritized over top-tier quality.
GPT-3.5 Turbo: Great for handling high volumes of routine queries and low-priority tasks, where cost and speed are the primary focus.
For this example, I’ll be using GPT-3.5 Turbo since I don’t need advanced reasoning capabilities, and cost-efficiency is my top priority.
Now, let’s test our assistant in the Playground. To do this, click on the “Assistant” section within the Playground tab. You can edit your assistant either in the Dashboard tab or the Playground tab, but the Playground tab offers the advantage of seeing your assistant’s responses in real-time.
Keep in mind that assistants can sometimes generate incorrect or fabricated information if you don’t explicitly instruct them to base their answers solely on the provided data. Be sure to set clear guidelines to avoid this.
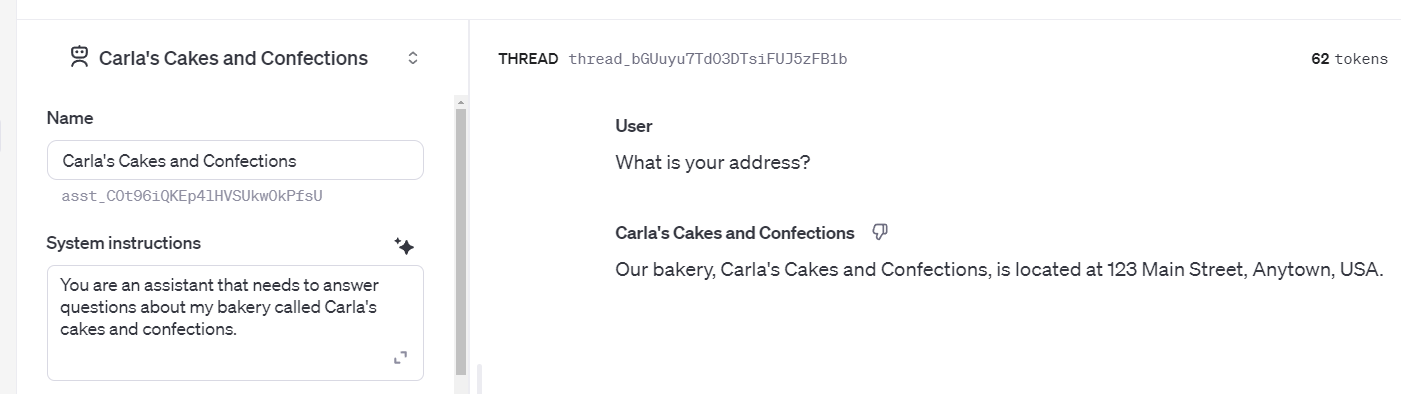
I didn’t provide the information that specifies the location as my own, so the assistant generated incorrect details. This highlights the importance of instructing your assistant to avoid making up information and to only use the data provided. To address this, I updated my assistant’s instructions as follows:
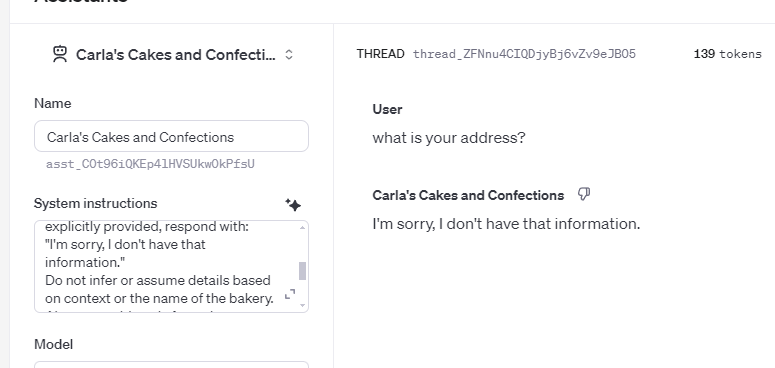
“You are an assistant for Carla’s Cakes and Confections. Your sole purpose is to provide accurate answers based only on the information you have been given.
Do not guess or fabricate information under any circumstances.
If you do not have the information explicitly provided, respond with:
‘I’m sorry, I don’t have that information.’
Do not infer or assume details based on context or the name of the bakery.
Always provide only factual responses based on the information given.
If a question cannot be answered due to missing information, prioritize honesty and clarity.”
Now, my assistant is set to only provide accurate responses based on the given information, ensuring it doesn’t make up false details.
Now, my assistant needs information to respond to questions. You can provide it with files to reference before it gives a response.
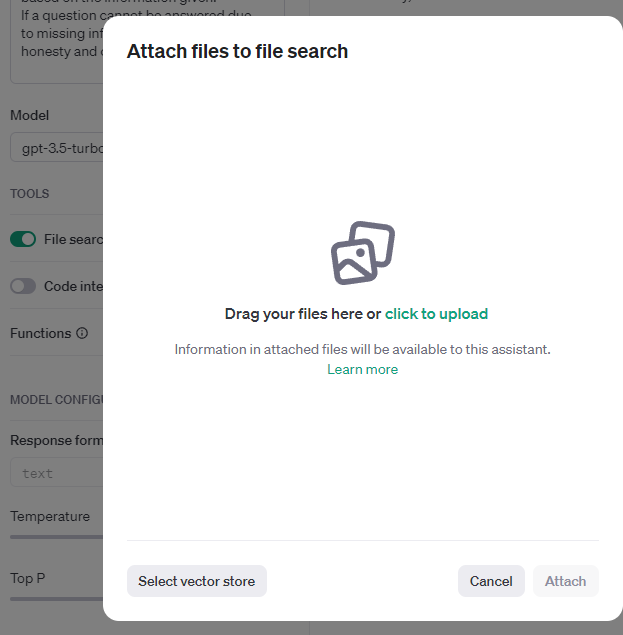
To do this, enable the ‘File Search’ option and click on the plus icon. This will allow you to upload various types of files, including:
.c, .cpp, .cs, .css, .doc, .docx, .go, .html, .java, .js, .json, .md, .pdf, .php, .pptx, .py, .rb, .sh, .tex, .ts, .txt
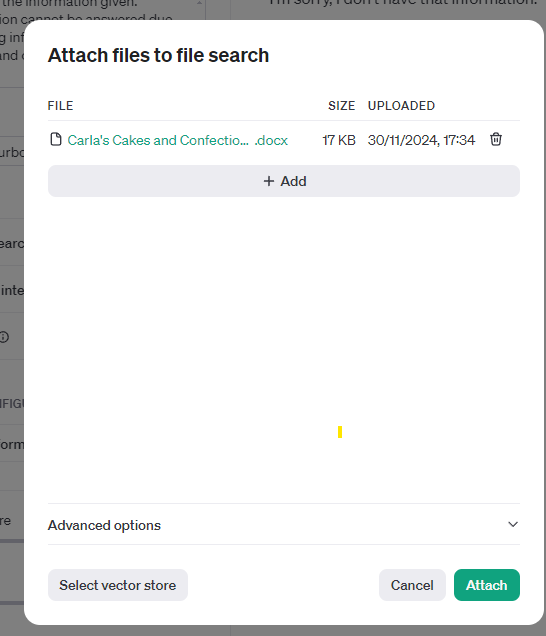
I’m going to upload a .docx file containing the location, business hours, contact information, and terms and conditions for the bakery. In OpenAI’s file search tool, a vector store is used to store the embeddings of uploaded files, regardless of their format (e.g., text, PDFs, or images). Each file is processed into high-dimensional vectors that capture its semantic content, enabling efficient similarity searches. This allows the tool to retrieve relevant sections of the file based on user queries. The vector store is assigned a unique ID, and each assistant has its own separate vector store.
I uploaded a Word document containing the following information. Make sure to select “Attach” when you’re finished.

Now, when I ask the assistant a question, it can search through the document and provide answers based on the information within it.
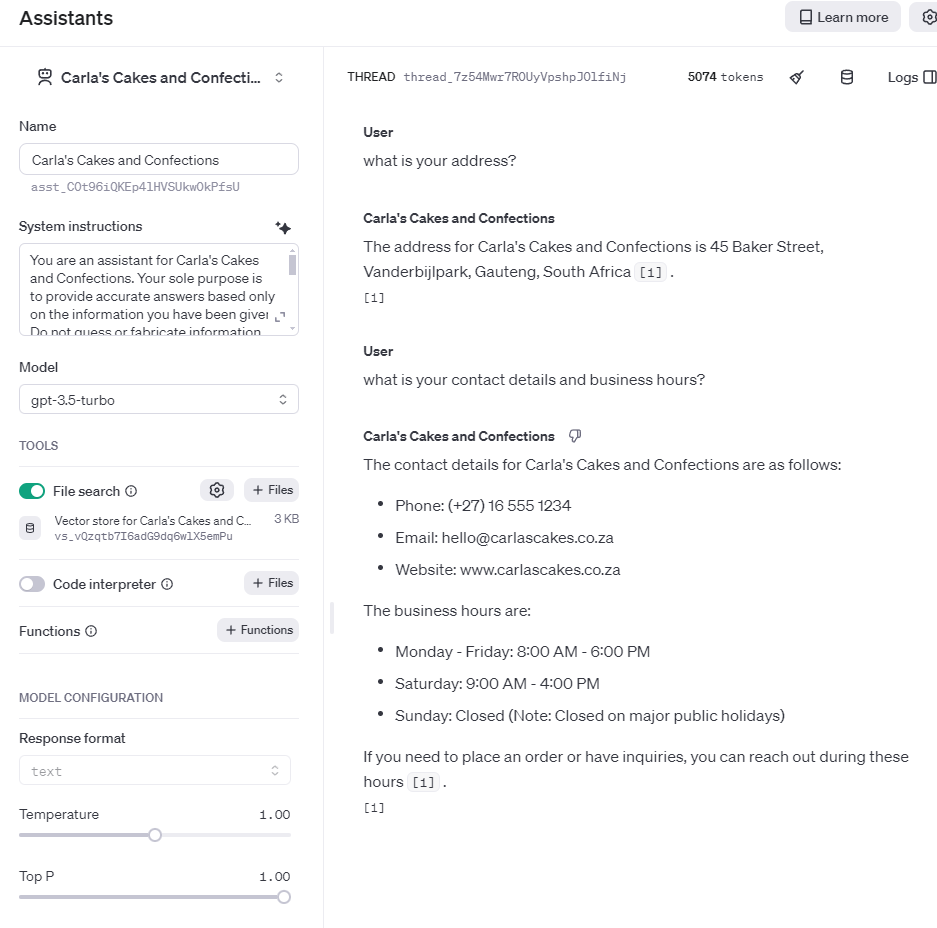
It successfully provided correct answers based on the .docx file I uploaded, with the number in square brackets [1] indicating a reference to a source in the vector store.
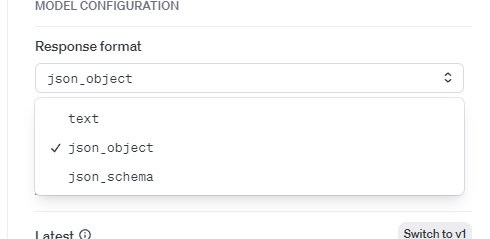
Another useful feature of OpenAI assistants is the ability to adjust the format of the responses. In the example above, I selected the text output format, but you can also specify that the assistant should return responses in JSON format.
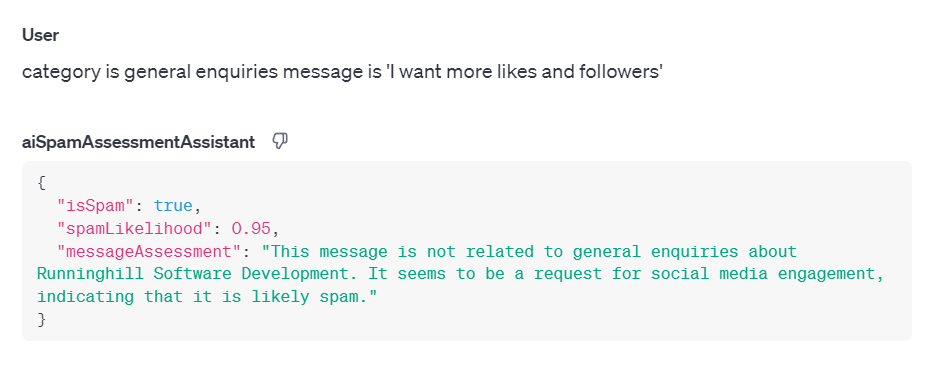
Here is an example of output in json format:
This should give you a solid foundation for creating assistants on the OpenAI platform. To recap, you can set up your assistant, upload relevant files, and customize its responses to suit your needs. The platform offers powerful tools to help you automate tasks, provide accurate information, and enhance workflows.
With these steps, you’ll be well on your way to building a helpful AI assistant that can handle customer queries, process data, and much more. The possibilities are endless!

WRITTEN BY
Carla Pretorius